


Hey there! As a supplier of pre - laid waterproof membranes, I've seen my fair share of challenges when it comes to installation, especially on uneven surfaces. In this blog, I'm gonna share some tips and tricks on how to install pre - laid waterproof membranes on those tricky uneven areas.
Understanding the Problem with Uneven Surfaces
First off, let's talk about why uneven surfaces are a pain in the neck for waterproof membrane installation. Uneven surfaces can have bumps, dips, and irregularities. These can cause air pockets to form between the membrane and the surface. When air pockets are present, the membrane won't bond properly, which means water can seep in and cause leaks. Also, sharp edges or protrusions on the surface can puncture the membrane, compromising its waterproofing ability.
Pre - Installation Preparation
Before you even think about laying the membrane, you've got to prep the surface. This is crucial, and it can make or break the success of your installation.
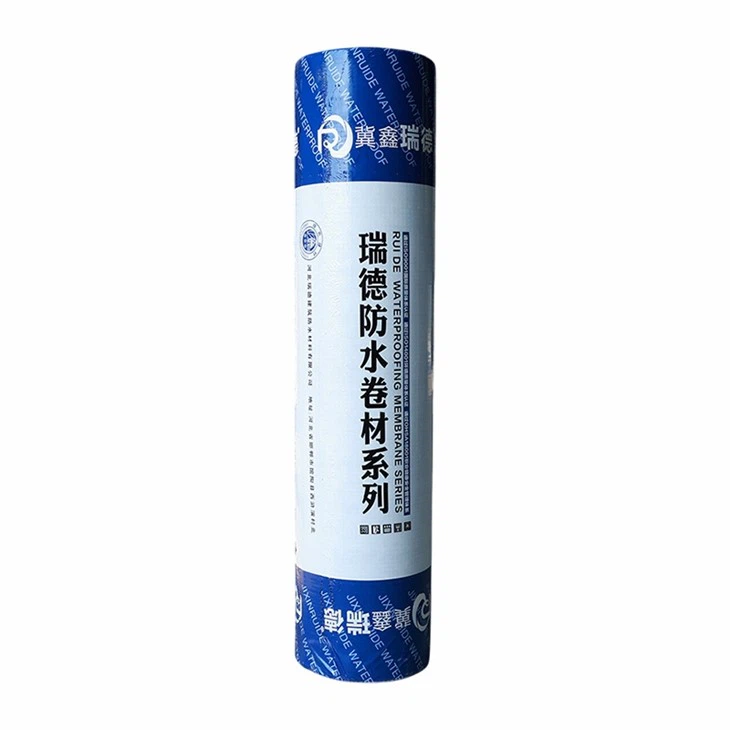

Surface Cleaning
Start by cleaning the surface thoroughly. Remove any dirt, debris, dust, or loose materials. You can use a broom or a power washer for this. Make sure to get into all the nooks and crannies. If there's any oil or grease on the surface, use a suitable solvent to clean it off. A clean surface will help the membrane adhere better.
Surface Repair
Next, you need to repair any major irregularities. Fill in large dips or holes with a suitable patching compound. For smaller bumps, you can use a grinder or a sander to smooth them out. It's important to make the surface as even as possible, but don't worry if it's not perfectly flat. Just aim for a surface that's smooth enough for the membrane to lay on without too many air pockets.
Primer Application
Once the surface is clean and repaired, apply a primer. The primer helps to improve the adhesion between the surface and the membrane. Make sure to follow the manufacturer's instructions for the primer. Usually, you'll need to apply it evenly with a roller or a brush and let it dry completely before moving on to the next step.
Choosing the Right Membrane
Not all pre - laid waterproof membranes are created equal, especially when it comes to uneven surfaces. You need to choose a membrane that's flexible and can conform to the surface irregularities.
Some of our great options include Special Modified Asphalt Waterproofing Membranes For Roads And Bridges. These membranes are designed to be tough and can handle a bit of unevenness. They have excellent waterproofing properties and can withstand different environmental conditions.
Another option is the Flat Roof Bitumen Membrane. Bitumen membranes are known for their flexibility and durability. They can adapt well to minor surface variations and provide a reliable waterproofing solution.
If you're looking for a high - performance option, check out the Bituthene Membrane. This membrane is self - adhering and can stick well to uneven surfaces, providing a strong waterproof barrier.
Installation Process
Now that you've prepped the surface and chosen the right membrane, it's time to start the installation.
Unrolling the Membrane
Start by unrolling the membrane on the surface. Make sure to align it properly and leave some extra material at the edges for overlap. It's a good idea to have a helper to assist you with this, especially if the membrane is large.
Pressing the Membrane
As you unroll the membrane, use a roller or a hand - held squeegee to press it firmly onto the surface. Start from the center and work your way out towards the edges. This will help to remove any air pockets and ensure good adhesion. Pay extra attention to the areas around bumps and dips. You may need to use more pressure in these areas to make the membrane conform to the surface.
Seaming the Membrane
If you need to join multiple membrane sheets together, make sure to overlap them properly. Follow the manufacturer's instructions for the overlap width. Usually, it's around 4 - 6 inches. Use a suitable seaming tape or adhesive to seal the seams. Make sure the seams are well - sealed to prevent water from seeping through.
Trimming the Edges
Once the membrane is fully installed, trim any excess material at the edges. Use a sharp utility knife to make clean cuts. Make sure the edges are smooth and there are no loose flaps.
Post - Installation Inspection
After the installation is complete, do a thorough inspection of the membrane. Look for any signs of air pockets, loose areas, or damaged spots. If you find any issues, fix them immediately. You can use a patching material to repair small holes or tears.
Maintenance Tips
To ensure the long - term performance of the waterproof membrane, you need to do some regular maintenance. Keep the surface clean and free of debris. Check the membrane periodically for any signs of damage or wear. If you notice any problems, address them as soon as possible.
Conclusion
Installing pre - laid waterproof membranes on uneven surfaces can be a challenge, but with the right preparation, the right membrane, and the proper installation techniques, you can achieve a reliable waterproofing solution.
If you're interested in purchasing our pre - laid waterproof membranes or have any questions about the installation process, don't hesitate to reach out. We're here to help you with all your waterproofing needs. Whether you're working on a small DIY project or a large commercial job, we've got the products and expertise to support you.
References
- Manufacturer's guidelines for pre - laid waterproof membranes
- Industry best practices for waterproofing installation on uneven surfaces


